Using a restaurant menu maker gives your restaurant a modern edge, improves service flow, and boosts guest satisfaction without sacrificing your brand’s identity.
First impressions start with the menu. It sets the tone for the entire dining experience and recently, diners expect that experience to be digital.
Digital menus, paired with a QR code ordering system, allow guests to browse, order, and even pay from their smartphones, making service faster and more convenient.
This guide will walk you through how to create a digital menu, highlight best practices for building an engaging menu experience, and answer common questions about making the switch.
Table of Contents
ToggleWhat is a restaurant menu maker?
It is a digital tool that allows menu management, creation, and customization.
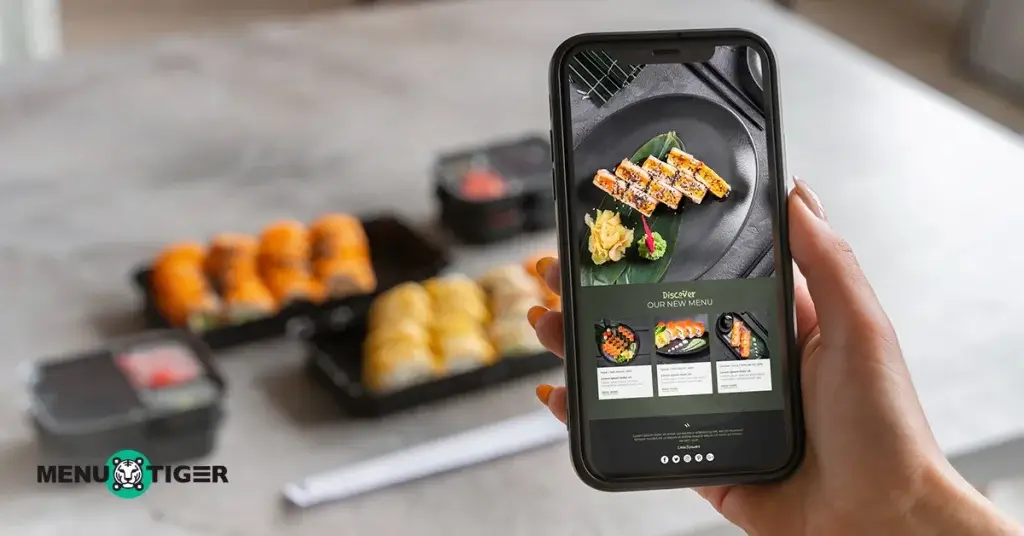
Instead of relying on traditional printed menus that can quickly become outdated or worn, a menu maker helps restaurants design a professional, up-to-date menu that can be accessed through smartphones, tablets, or other devices.
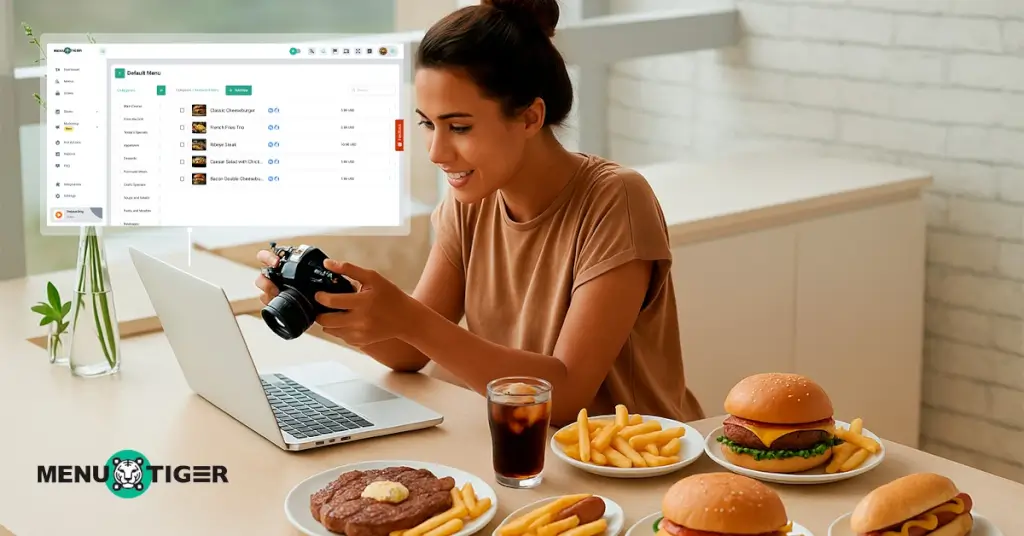
Most menu maker apps you see online offer flexible features like drag-and-drop editors, customizable templates, and options to upload item photos, descriptions, and prices.
Some platforms even let restaurants add branding elements like logos, brand colors, and seasonal promotions to keep their digital presence consistent and fresh.
Software like MENU TIGER also provides additional features that make managing a virtual menu or digital menu QR code efficient and straightforward. These features give restaurant teams full control over updates without requiring graphic design experience.

How to create a digital menu step-by-step

Creating a digital menu for your restaurant doesn’t have to be complicated.
With the right tools, you can have a polished, functional menu ready to go in just a few simple steps. Here’s how to do it:
Step 1: Sign up for a menu maker platform
The first step is to choose a restaurant menu maker that suits your needs.
Whether you’re a small local café or a large restaurant chain, make sure the platform offers the flexibility to update your menu in real time and is easy to use.
If you’re just starting out or looking to test the waters, consider a menu creator online free option.
Many platforms offer free trials or demo versions, allowing you to explore the features before fully committing to a paid plan.
Once you’ve chosen the platform, simply sign up for an account and start building your menu.
Step 2: Choose a template or design layout
Once you’re logged in, you’ll be able to select from various templates and design layouts.
Some menu makers offer pre-designed menu templates tailored to different types of restaurants, like fine dining, casual eateries, or cafés.
Choose a design that complements your restaurant’s brand and atmosphere.
If you have specific brand guidelines, look for a tool that allows for easy customization whether that’s adding your restaurant’s colors, logo, or other design elements.
Step 3: Add your menu items
After you create menu templates or designs, it’s time to populate your digital menu with your food and drink items. For each item, you’ll want to include:
- Name of the dish or drink
- Description (highlight key ingredients or flavors)
- Price
- Image (high-quality photos can enhance the visual appeal)
Organize your menu items into logical categories like appetizers, mains, desserts, and drinks.
This makes it easier for customers to navigate and find what they’re looking for.
Step 4: Customize your menu’s look and feel
The beauty of a digital menu is the ability to personalize it to match your restaurant branding strategy.
Customize colors, fonts, and layout so that it aligns with your restaurant’s vibe.
You can also upload your logo, and adjust the style of each item’s presentation like making bold or italicized text for special dishes.
A cohesive look across your digital presence is key to building a strong brand identity.
Step 5: Generate the digital menu and share it
Once your menu is designed, the next step is to publish it.
An online menu ordering system like MENU TIGER lets you generate a QR code that links to your customized digital menu, making it easy for customers to access it directly from their smartphones.
You can also embed the menu on your website or share it through other digital channels like social media.
Step 6: Regularly update your menu
A huge advantage of a digital restaurant order system is that it can be updated instantly.
No more printing costs when you want to change prices, update seasonal dishes, or add new promotions.
Simply log into your menu maker, make the necessary changes, and update the menu across all platforms.
7 best practices when using a menu maker app
Creating a digital menu is one thing but making it effective is another.
A well-designed online menu should be easy to navigate, visually appealing, and aligned with your restaurant’s brand.
Here are some best practices to help you get the most out of your restaurant menu maker.
1. Keep your layout clean and simple
Don’t overload your digital menu with too much text or flashy visuals.
A cluttered menu can overwhelm customers and slow down decision-making.
Use clear headings, spacing, and logical grouping (like starters, mains, desserts) to keep things organized.
2. Use high-quality photos strategically

Photos can help sell dishes, especially for signature or best-selling items.
However, too many images can make your menu load slowly or appear chaotic.
Stick to one or two standout images per category or highlight featured dishes with visuals that reflect your brand’s aesthetic.
3. Be clear and descriptive
Menu descriptions should be short and enticing.
Using a menu maker AI, you can effectively highlight key ingredients, preparation styles, or unique flavor profiles.
This is a great example of how AI marketing can directly impact your sales by making your offerings more appealing.
For example, “Char-grilled chicken marinated in citrus and herbs” sounds more appealing than “Grilled chicken.”
4. Stay on brand
Make sure your digital menu reflects your restaurant’s identity.
Use your brand colors, logo, and typography if your menu maker allows for it.
Consistent branding builds recognition and creates a cohesive guest experience.
5. Update regularly
One of the main advantages of a digital menu is the ability to make instant updates.
It lets you update your items, prices, and seasonal specials regularly.
This keeps your menu fresh and relevant, plus it helps reduce customer frustration from unavailable items.
6. Test the experience like a guest
Learn how to scan the menu with your mobile device and navigate it as if you were a first-time driver.
Is it easy to read? Do the links load quickly?
Testing your menu on different devices ensures a smooth experience for every customer.
7. Highlight bestsellers or promotions

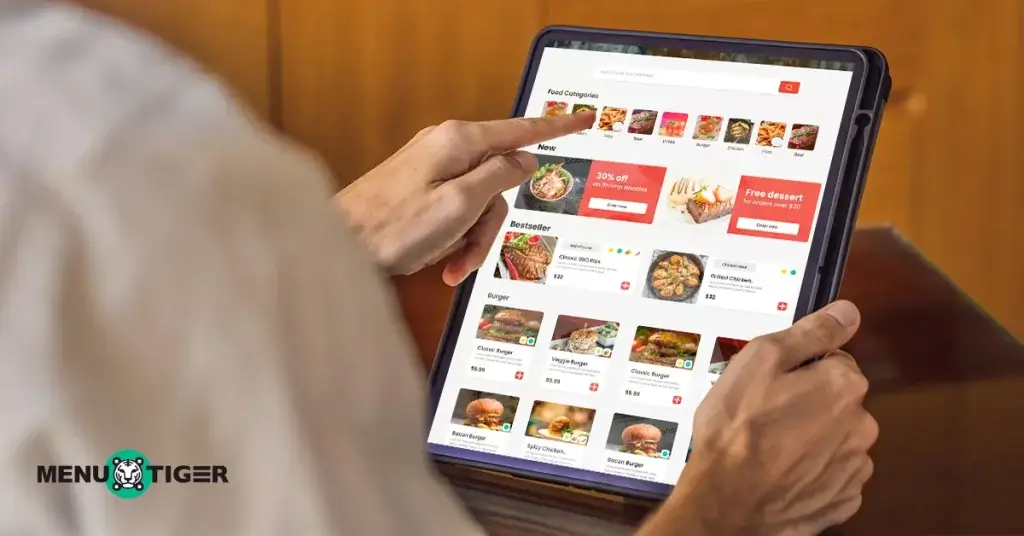
Use layout or design elements like “Bestseller” or “New” to draw attention to specific items.
MENU TIGER provides tools to do this easily as you create a menu template.
This not only guides customer choices but can also help drive higher-margin sales.
Digital menu use cases for effective restaurant order management
Restaurants of every format are finding creative ways to put digital menus to work. Here are some popular use cases.
Dine-in service
You can place QR codes on tables so guests can instantly access the menu without waiting for a server.
This allows servers to focus on high-touch service (drink refills, order questions) while guests browse at their leisure.
Takeout and delivery

Embed the digital menu link on your website or in your delivery platform profile.
It lets you update “meal bundles,” daily specials, or limited-time offers without the expense of reprinting flyers.
Multi-location management
Centralized menu control across all branches, where one change in the dashboard updates every location simultaneously.
This is perfect for chains rolling out new seasonal items, promotions, or price adjustments.
Real-time inventory updates
When stocks run out, you can automatically mark items as “Sold Out” with just a few clicks to prevent disappointed guests.
You can also do this with a POS or restaurant inventory system that will be integrated into your digital menu software.
It’s time to bring your menu online using a trusted menu maker
Menus don’t have to be static anymore.
With the right restaurant menu maker, you can design a menu that reflects your brand, update it on the fly, and give customers instant access.
That means faster updates, fewer errors, and happier customers.
If you’re ready to modernize your operations and offer a better guest experience, start by choosing a reliable restaurant ordering system that makes the transition simple.
Tools like MENU TIGER offer everything you need to get started quickly with the flexibility to grow as you do.

FAQs
Yes, AI tools can assist in creating a restaurant menu by suggesting item names, writing dish descriptions, and even analyzing sales data to recommend menu adjustments.
While AI can help with the creative process, human input is still key to maintaining authenticity, aligning with your brand, and meeting customer expectations.
The best app depends on your restaurant’s needs, but top-rated menu maker platforms usually offer user-friendly interfaces, customizable templates, and real-time editing.
Look for features like branding options, multilingual support, and the ability to generate QR codes.
MENU TIGER, for instance, offers a flexible and intuitive solution for restaurants of all sizes.
To craft a restaurant menu, start by defining your food categories (e.g., appetizers, mains, desserts) and organizing your dishes accordingly.
Use clear names, concise but appealing descriptions, and highlight best-sellers or signature items.
Visual hierarchy, consistent formatting, and attention to dietary needs can also improve readability and enhance the guest experience.


